If you come here regularly, you might know that I just posted our half bath makeover in June. It was totally great and all...just missing something. See below how we filled in the blank (literally)!
I remember when we first walked through this house, I thought this little spot above the half bath toilet really could use some chunky floating shelves (it was practically crying out for them, for goodness' sake). But floating shelves are one of *those things* in our marriage...things that we can never install together. Do you have a list like that? Ours starts with installing mini blinds and somewhere in the middle floating shelves are there, too (floating shelves went on there a month after we got married, y'all). But I just knew this space was a bit different and could handle the mayhem of us installing these here. I think it worked out well...and we're all still happy as larks.
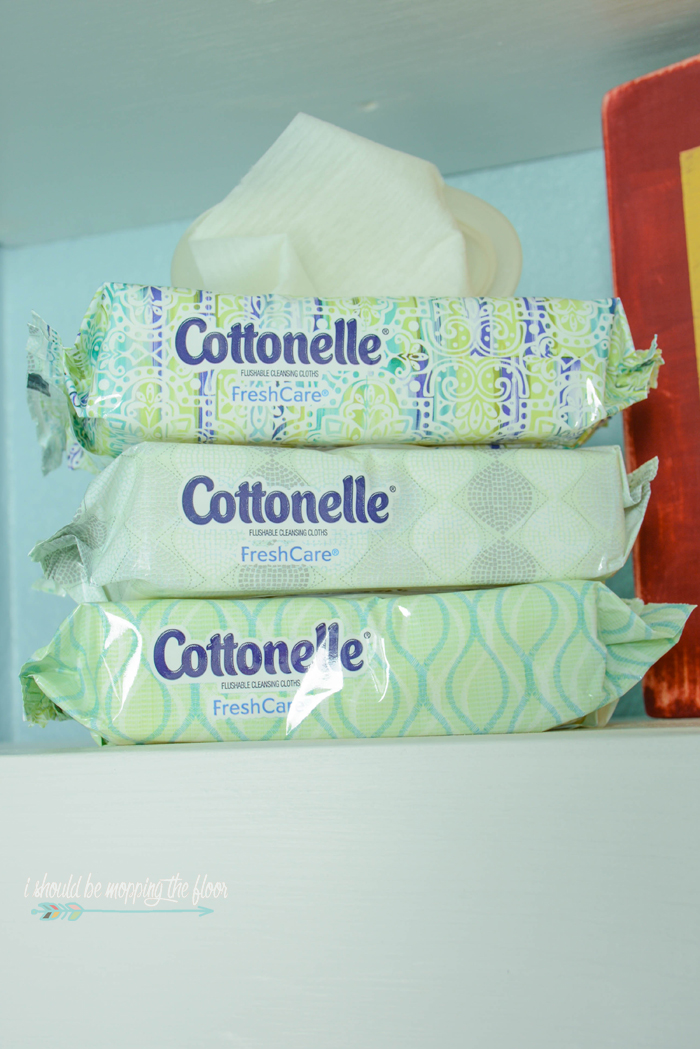
These shelves are perfect for all of the essentials our guests may need...like the Cottonelle® FreshCare® Flushable Cleansing Cloths. These cleansing cloths are one of those things that you don't realize you need...until you need them (wink). I like having them out at the ready, so guests don't have to dig through my cabinets looking for these types of items.
Want to see the entire makeover of this half bathroom? Find that post here.
Here's what we used to put these together (per shelf):
(Note: we are partial to 1x4s, but you can make these smaller, if you prefer...which is what most people seem to do with shelves like these. We're "bigger is better" kinda people. Just kidding. Kind of.)
- 4- 1x4 pieces (each cut to the depth you'd like your shelf to be, ours was almost 10 inches)
- 1- 1x4 piece for your back brace (cut to the width of your shelf, ours was 25" wide)
- 2- 1x10 pieces (each cut to the width of your shelves, again 25")
- 1- 1x6 piece for the front (cut to the width of your shelf, 25"; we also had to shave about 1/2" off of this piece so it wasn't too tall)
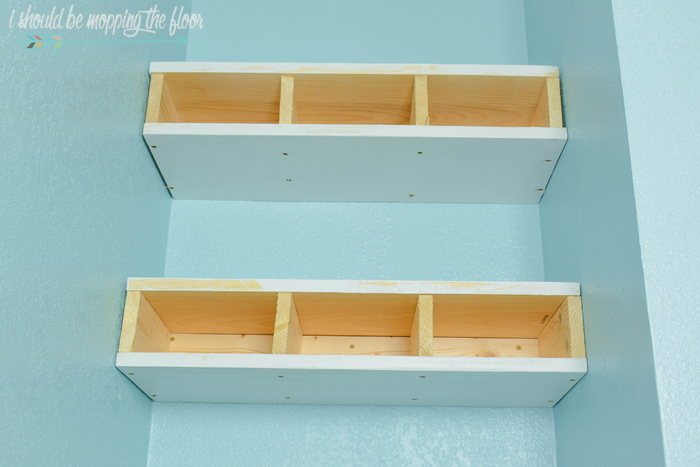
Start by assembling the framework with each of the small 1x4 pieces coming out of the larger 1x4 brace for the wall.
We assembled these with 3" long wood screws (two screws per board).
Remember to pre-drill so you don't split your wood.
You will install it just like this onto the wall.
We were able to install our frames into studs. If you're not as lucky, be sure to anchor the heehaw out of these into your wall. They are heavy!
I pre-painted the top and bottom boards on the ground, before attaching to the shelf frames. Be sure to pre-drill your holes for these, too. We used wood screws again and attached into the 1x4 brackets. If you look closely at the top shelf, I got all rebellious and tried to not pre-drill...and split the wood on one of the brackets.
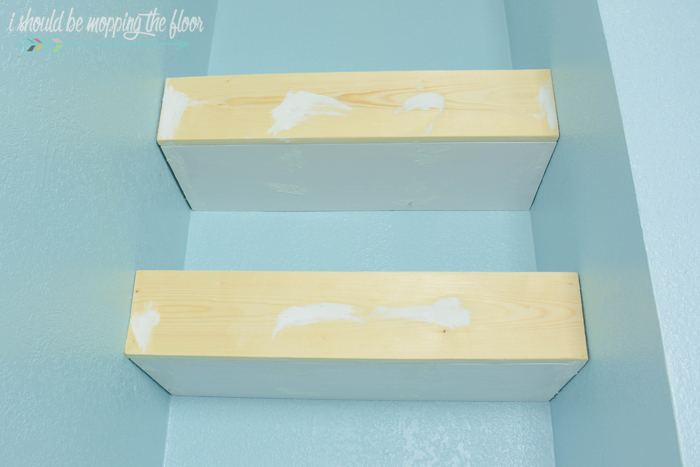
Attach the front pieces with screws as well (we did them on the two middle brackets). Try to sink your screws as much as possible. Then fill your holes with putty. Once that's dry, sand, wipe, and paint. These were seriously not nearly as complicated as other plans I've seen out there. By painting ours, we didn't have to be as cautious about screw placement since they wouldn't show. If you're staining, you just have to be very careful and use a good stainable wood filler.
We actually enjoyed this project a lot.
I'm thinking these would be super fun over the coffee bar, too.
This is the perfect spot for all the essentials. Because we've all had those situations in a guest bath where we need something that's not out in the open...and then you become that guest digging through someone's cabinets. I can recall changing a kiddo's diaper in a bathroom at someone's house and running out of wipes...nightmare! Hoping I prevent that same craziness for some of our guests by having few packs of the Cottonelle® FreshCare® Flushable Cleansing Cloths at the ready.
Be sure to grab Cottonelle® FreshCare® Flushable Cleansing Cloths in the big blue box at your local Sam's Club. Grab your Sam's Club membership here.
They're ready and waiting for our guests.
Hoping we can spread that confident clean to everyone we know!
Our Sam's Club has their Cottonelle® FreshCare® Flushable Cleansing Cloths in the toilet paper aisle.
Besides the Cottonelle® FreshCare® Flushable Cleansing Cloths, I also have a few extra hand towels, extra toilet paper, and a fun sign I made for this spot.
What do you think? Do you have a spot for shelves like these?


AH! I love this! I especially love the "feel free to seat yourself sign" Hilarious! I love how easy those floating shelves are and they look very sturdy! I think I found myself a new project for this weekend!
ReplyDeleteThese shelves turned out nicely. I love how functional they are yet decorative in a simple, homey way. Also, the sign is just hilarious and the perfect touch! I want it for my home's bathroom.
ReplyDeleteWhat a great project to do. This time of year is always excellent for that. But you have such a creative mind to do things. I drag my feet all the time but, I love seeing the end result of wonderful projects like this!
ReplyDeleteI love the blue in your bathroom. I have been wanting to paint my bathroom that color as well.We have floating shelves in there that came with the house but I never knew how they made them. This is a great tutorial so we can make more of them in other parts of the bathroom. Thanks for sharing!
ReplyDeleteI love this idea. We have a really small basement bathroom that this project would work in for sure. it would add some storage and would really update that space. Great idea. Thank you for sharing.
ReplyDeleteOh wow, now I want it for my own apartment! I love how you shared all the steps you've gone through, and I think that I'd be able to make this too. Thank you so much!
ReplyDeleteI really like the floating shelves. They look great very professional. Found your post at #IdeaBox Link up
ReplyDelete