This tutorial for a Painted Waterfall Dresser contains affiliate links. As an Amazon Affiliate, I make a small portion when these links are used, at no additional cost to you.
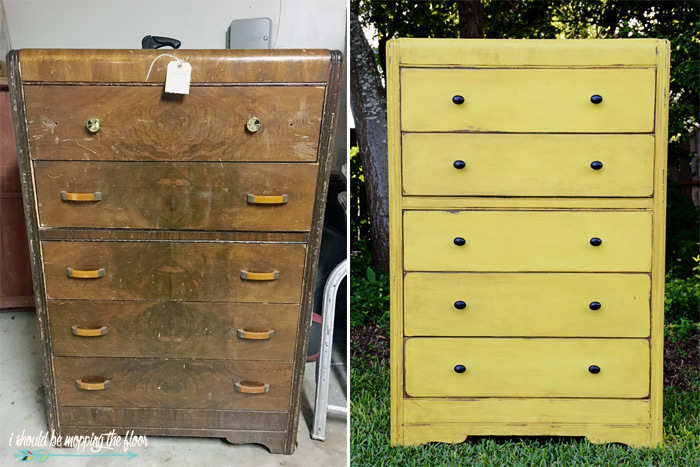
This DIY Painted Waterfall Dresser was a fun one, friends. I'm affectionately calling this...my Goodwill score of a lifetime. Because this painted waterfall dresser walked into our lives at the absolute perfect moment. See how I made it over below.
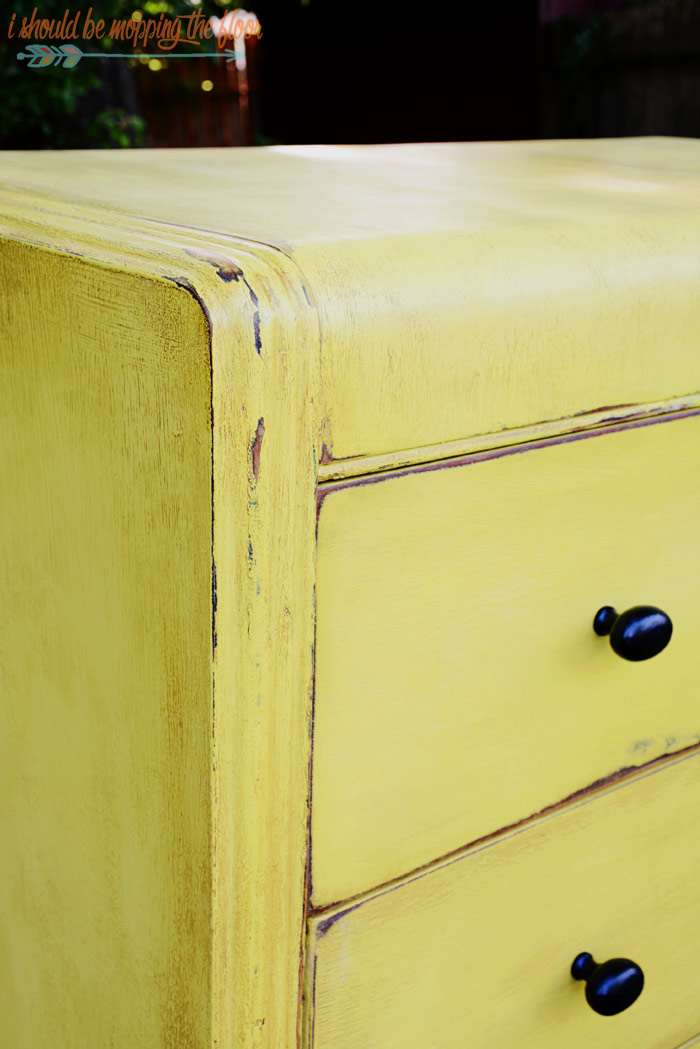
This newly painted waterfall dresser has a fun layered wax technique on top of its bright yellow chalk paint. It makes it kind of aged...but not overly aged as most of my chalk paint projects seem to be (I just love old stuff, what can I say?). Check out the entire tutorial below.
Today's Painted Waterfall Dresser tutorial is also a part of our monthly Thrifty Style Team fun. At the end of the post, be sure to check out my friends' projects, too.
Painted Waterfall Dresser
So, here's why it was the Goodwill find of a lifetime. This thing was $25. Twenty five dollars! I mean, this is a classic art-deco piece. I was elated. Elated. Granted...it was also in very rough shape. And it was veneer. I hate veneer.
I don't hate the look of veneer. But I loathe working with it in this capacity.
Chalk paint to the rescue. It covers a multitude of sins.
Here's the second reason it was the find of a lifetime: we actually went into Goodwill for a dresser. How often does it all work out just right like that? This is my son and me in the GW parking lot after we loaded this beast into my car. A) we were just thrilled it fit, and B) we had just scored a $25 waterfall dresser! This piece was for his room, so he thought it was pretty nifty that it all worked out, too.
Chalk Painted Waterfall Dresser
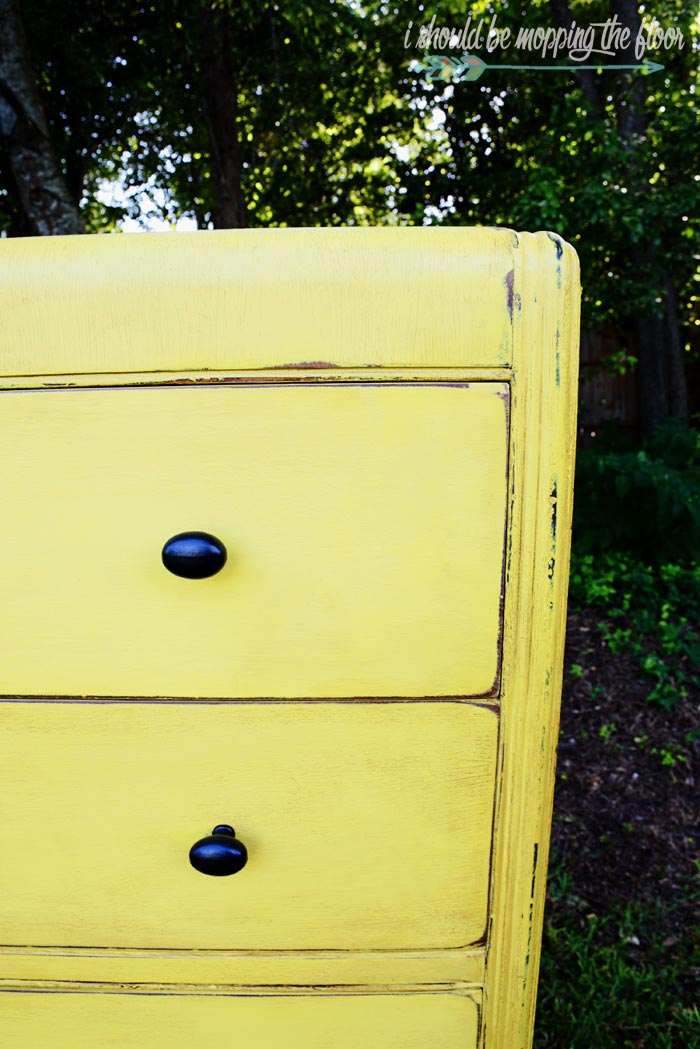
I'm really happy with the finish on it. I would have never chosen yellow, but its new recipient really wanted yellow. I think it turned out great. I did want to soften the yellow, so I used the two-step wax method I outlined below for you.
Painting and Waxing with Chalk Paint
I'm going to somewhat skip the overall painting part since it's very basic.
Here's the gist of it, though:
- I filled in any scrapes and scratches with wood filler.
- I sanded the filling down to create a nice, level surface.
- I painted the entire piece with two coats of Annie Sloan's English Yellow Chalk Paint. You can locate an Annie Sloan stockist here.
- Let the piece completely dry and cure overnight (at least). If you live in a humid area, you may want to give it a couple of nights.
Adding Age to Chalk-Painted Pieces
Supplies:
- medium-grit sand paper (I prefer to use my palm sander since it's so much faster)
- tack cloth (purchase here on Amazon)
- dark wax (I prefer Annie Sloan)
- natural wax (I use Minwax's Natural Paste Wax that you can grab here on Amazon.)
- wax brush (you can grab one here on Amazon)
Directions:
(Pictured above): I use my sander to rough up the edges only. I have had this same sander for well over 20 years and it just keeps on truckin'. You can find the updated version of it here on Amazon.
It's quite difficult for me to just sand edges. I really wanted to age it even more, but I restrained myself.
My son didn't want it to look too old.
But, this is an area where you can make your piece look as old (or young) as you like.
- After sanding, be sure to wipe your piece down with the tack cloth.
- Start by using a quarter-sized amount of natural wax.
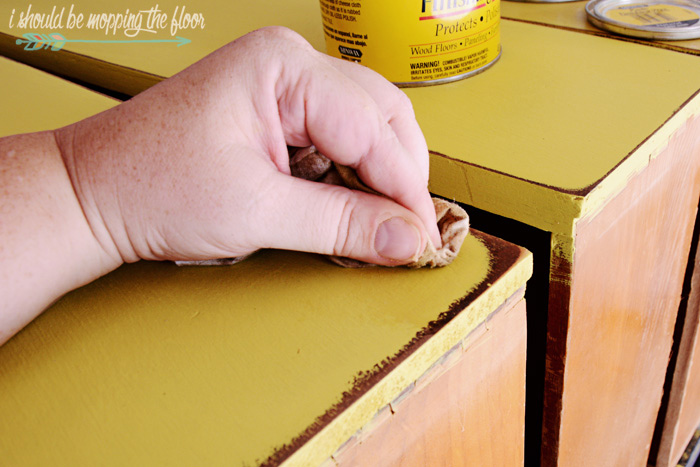
- Use a t-shirt-like cloth to apply the wax to the piece in small areas in a circular motion, (I work in about six-inch sections). The natural wax just slightly deepens the color.
- After you've applied the natural wax, use a wax brush for the dark wax.
- I just "dob" my brush in my can of wax and only pick up a tiny bit of it. Then I apply it to my piece (again in six-inch sections). This is just the start of application. I go over it with the brush about a dozen times until all of the wax is worked into the piece.
- I concentrate the wax heavier on edges and very lightly in the middle areas.
- It's a very simple process, but it's a nice one. The wax also acts as a protective coating.
- If you feel like you've gone too far with the dark wax, you can actually get a dab of the natural wax on a soft t-shirt and "pull" some of the color off of the darker areas.
- I like to let my wax cure for at least 24 hours, often more (especially before setting any items on top of it).
- If you need a refresh in a few years, just dab on and work in a bit more wax here and here. It also acts as a protective sealant for the piece.
We finished the painted waterfall off with new hardware. I had wanted to salvage some of the original, but it didn't look great with the yellow. I did set it aside to use again one day.
After it's all said and done...I spent a lot more on the paint than the piece! Really happy with how this came out. Whatcha' think?
More Paint Tutorials:
- Be sure to check out my Easy Pickle Wash Finish for a more natural-looking finish. I combined the particular piece I made over with chalk paint, too.
- I also have a Chippy Layered Paint Finish tutorial that is a big hit with readers.
- And if you're looking for a technique that combines both stained areas and painted areas on one piece, be sure to check out the makeover I did on my grandma's dresser.


This turned out so pretty, Kristi! I love yellow anything and you truly turned this veneer piece into a ray of sunshine. I have an old waterfall dresser that was given to me when I was a teenager. Right now it is in my sunroom and has been for years. I have considered painting it many times but could never quite figure out what color, etc., but this yellow and the way you aged it have inspired me. :) I'm so happy to be partying with you as part of the TS team. hugs, mb
ReplyDeleteIt looks great! I've never used the dark wax, but always so tempted to try!! And the hardware you took off is a double score! Hopefully you can use them on something else in the future... LOVE the drawer pulls!
ReplyDeleteWOW! Kristi-this dresser is so beautiful!! Perfect color choice. I love the photo of you guys in the car!! We are teaching the kiddos a lot by thrifting, that is for sure! ~ Julie
ReplyDeleteIt looks amazing! I love the color and the hardware you chose. And I can't believe you actually found a dresser at the thrift store when you were specifically looking for one - that never happens! So lucky.
ReplyDeleteI'm a huge yellow fan so this really caught my attention! It's perfect and I love your thorough tutorial plus excellent pictures.
ReplyDeleteLove it! So cool that you went to GW with your son to find a dresser for him and it worked out! My daughter has a chifferobe, dresser and modified vanity in the waterfall veneer. It was my grandparents' set and my grandpap took the vanity shelf and mirror off, then put the two sides of the vanity to make a bed side table when they downsized from house to apartment; several years ago). My daughter wanted it all kept original color, much to my disappointment. So that's her furniture in her room. Yay for art-deco!
ReplyDelete