This post for Quilted Coasters contains affiliate links. As an Amazon Affiliate, I make a small portion when these links are used, at no additional cost to you.
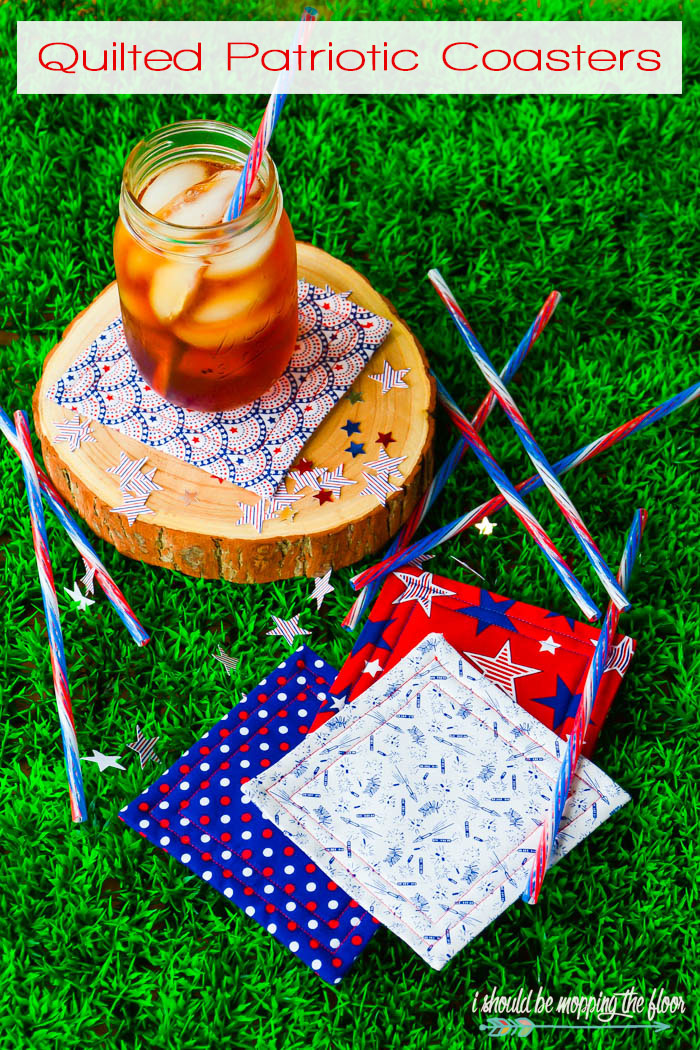
These DIY Quilted Coasters would make a fantastic hostess gift for all of the summer cookouts you're headed to this summer. Or make a set for yourself to go with all of your red, white, and blue decor. And, these are super versatile...use other fabrics to make them appropriate for whatever season or holiday you're in!
This is a simple sewing project that is perfect for beginners...or even kiddos who are learning to sew (with an adult's supervision at the sewing machine). I make gobs of quilted coasters and love to keep them on hand for simple gifts. (Check out these other ones I made HERE with my favorite Riley Blake Fabrics.) These fun DIY Quilted Patriotic Coasters just scream SUMMER BBQ! Be sure to take a set when you're invited to a cookout on the fourth...your hostess will love them!
DIY Quilted Coasters
I love adding red, white, and blue wherever I can...and under a cold beverage is the perfect spot (because nothing screams summer like a cold drink, y'all). And aren't these fabrics the cutest?
But, seriously, quilted coasters have to be one of my favorite sewing projects. They're so easy, but have a very functional (and cute!) outcome.
How to Make Quilted Coasters
This is a wonderful project to use up fabric scraps. I used a pack of patriotic fat quarters for my set. I was just itching to use these pretty designs this season.
Supplies for Quilted Coasters
- fabric scraps or even charm-sized squares of fabric (they're pre-cut in the perfect size)
- To keep things simple, I use simple felt rectangles for batting...no need to buy the big package of quilt batting for this one. I grab my felt pieces at the Walmarts for like $.30 each.
- You'll also need some coordinating thread. Just a little tip...I use one color in my bobbin and the other in my spool on top. Then I have red on one side of the coaster and the blue on the other. It makes it easy not to have to fill multiple bobbins (I loathe bobbin filling). If I want the contrasting color to show, I just flip the coaster over.
You'll also need your sewing machine for this one. If you have a mini hand sewing machine, that will work great, too. And plug in your iron, too!
Directions for Quilted Coasters
Like I mentioned above, I make a 6"x5.5" square for my initial cut (it will form a perfect square once it's all sewn up). Each coaster requires two of the 6"x5.5" squares and one felt square. I cut my felt into 4.5" squares.
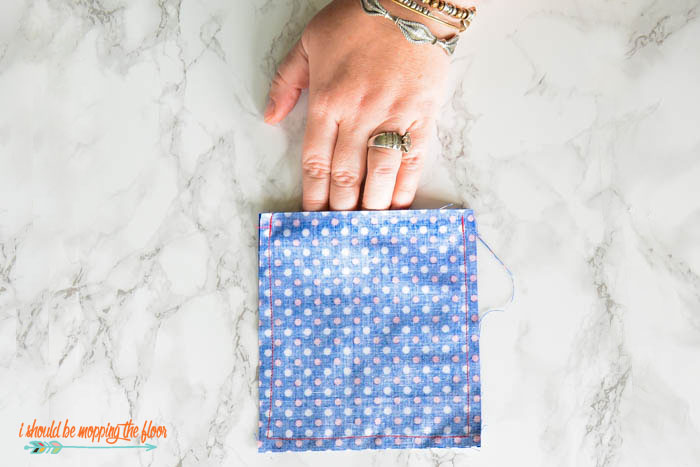
- Start by placing your fabric squares right sides together (no felt square needed, yet).
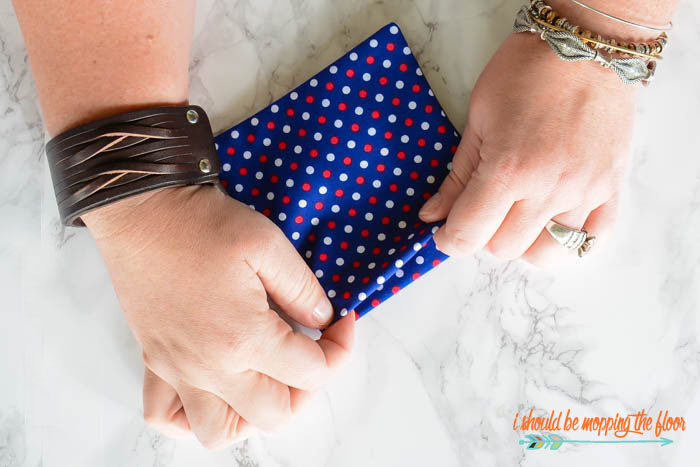
- Using the basic stitch on your sewing machine, sew three sides closed with a quarter inch seam allowance (leave one of the shorter sides open, as pictured above). I do a small backstitch at the beginning and end.
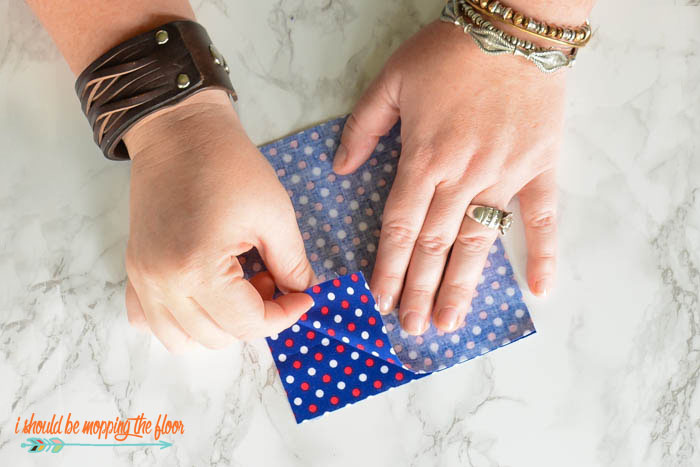
- Snip your two corners so your points will turn out nice and neat.
- Turn the coaster right side out and gently push out those corners (I like to use the slanted end of a manicure stick...be super careful not to poke through your fabric).
- Once your corners look nice and tidy (I love a good tidy corner), give the whole thing a quick press with the iron.
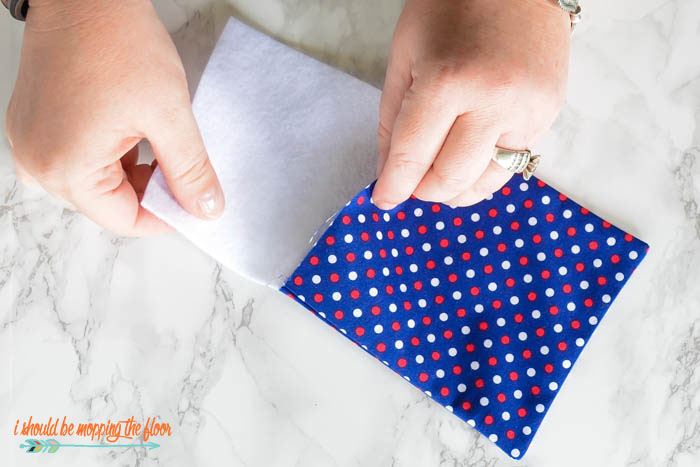
- Insert your felt square into your coaster's opening (this may take a little finesse).
- Tuck in the raw edges of the open side of the coaster. Tuck in enough so the entire coaster is a perfect square.
- Press this tuck in place so it's easy to sew.
- Then head back to your sewing machine (basic stitch again). You'll be sewing around the entire perimeter (sewing closed the open side), using a quarter inch seam allowance (see below).
- After you do the initial sewing around the edge (well, within a quarter of an inch from the edge, technically), you'll repeat with another stitch, another quarter of an inch inward. This gives you that nice quilted border...and a nice big square in the middle for a beverage to sit on.
- I do not do any backstitching on these quilted seams. I feel like it makes them untidy. Instead, I keep my beginning and ending threads longer so I can tie them together when removing the finished piece from the sewing machine (see below).
- Simply tie off with a double knot and snip off the threads as close as possible to the knots.
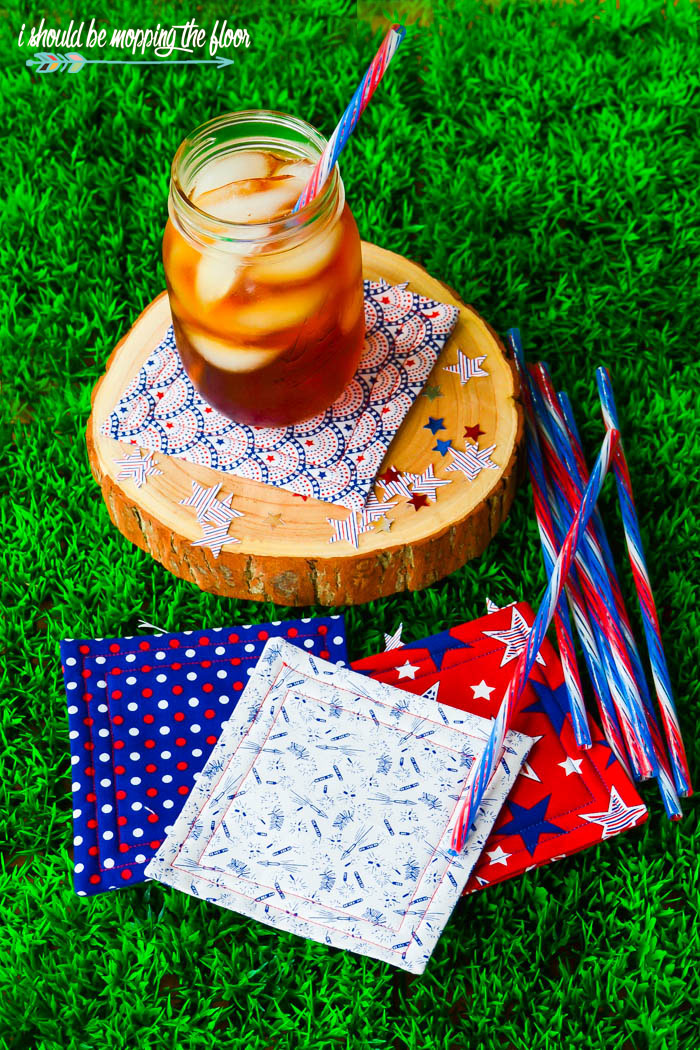
Pretty sure the blue and white vintage fireworks print is my absolute FAVE! You can even play around with these and do a different fabric on each side.
Stack them together and tie with twine for a lovely hostess gift at summer parties.
I used the free printable CELEBRATE tag from the Patriotic Glassine Confetti Packets tutorial. Click here to grab that free printable (and for this fun fourth of July project).
What kind of red, white, and blue projects have you been working on?









I've been wanting to make some coasters... I'm inspired. thanks!
ReplyDeleteSuper cute. Hope you had a great 4th. Thanks for sharing at the #InspirationSpotlight party @DearCreatives Pinned & shared.
ReplyDelete