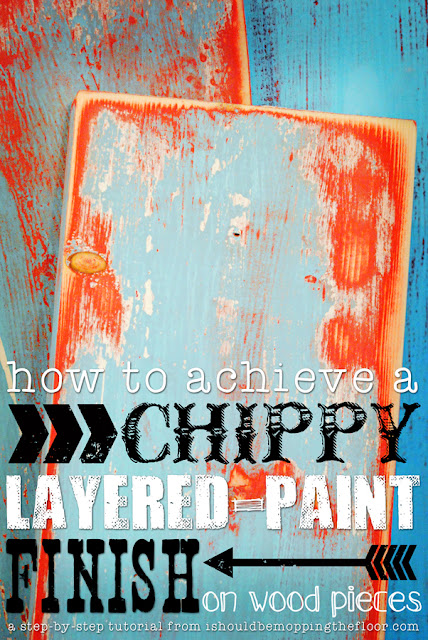
A chippy layered-paint finish can add character and age to any piece.
The methods shown below work flawlessly for me.
I'm in the middle of a big ol' kitchen transformation. It's been a few years in the making, but I'm finally hittin' it hard big time. I've put together a lot of new accent pieces for the kitchen that have this chippy layered-paint finish that makes me go weak in the knees. There's two separate methods that I've used below.
Both of these methods start with a homemade chalk paint. This is my particular recipe that has worked well for me {pictured above}. It is thick, but I kind of prefer that. Feel free to play around with the measurements to achieve the consistency you're comfortable working with. The reason I like the thicker version is that I know it will adhere to pretty much anything in one coat.
METHOD #1>>>
I like to start with a raw wood piece for this finish. If you're working with a piece of furniture, it's okay to start with the finish you have. If you'd prefer, you can sand it down to this raw state for an easier, more organic process. At least as organic as you can get when you're manufacturing a distressed look. There's a major oxymoron in there somewhere.
Schmear on a coat of the chalk paint. You're not going for perfection here...this layer will be buried under a few others. Just go for it and get it on there. After you've applied it...let your container of chalk paint sit out for a while to thicken up {an hour, give or take}. After it's thick, you may want to cover it so it doesn't get crazy thick. It's a fine line, I know this.
A note on color choices: you may want to try to get contrasting color layers so they show up really well in your finished piece. I did that on the other method I'll be showing you below.
The chalk paint doesn't take too long to dry. I was working outside in the heat, so that did speed up the process. You can move on to this step about an hour after your chalk paint is applied.
On this particular piece {it ended up being a large frame that you'll see below}, I was pulling colors out of my curtain fabric that the finished piece sits next to. They're a bit random. But who doesn't love a good aubergine? Would you call this color grape or aubergine? Name that movie.
I used spray paint on just the edges of the piece. I wanted to deepen the red to grab that purple color and kind of "soak" it in.
After applying the spray paint and allowing it to dry {which literally takes like ten minutes in this part of the world}, use your thick, but not too thick, chalk paint and go back over the spray paint. You're just creating layers of fabulousness, friend.
After that layer has dried, use your final color on the top. Again, it's best to have a lot of contrast in these colors so you really see all of the different layers of yummy aged chippy paint.
When the paint is still tacky, use a paper towel to take off some of the top layer of paint.
After it has dried completely {you can see, it's now night time in my photo...I let it dry for several hours}, sand the piece until you get your desired level of chippiness/age.
This is the finished piece on this one...I don't want to show you too much.
I'm revealing it on Sunday with a super fun giveaway.
But you can see the reddish/purple hues peeking through. Fun, no?
METHOD #2>>>
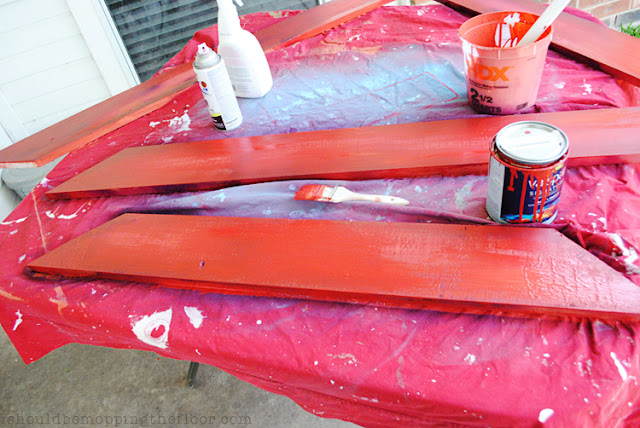
Again, start with your chalk paint mixture. I used red again.
Apply it to the raw wood and let it dry.
I used plain white acrylic paint on the next layer. It's such a nice contrast to the red. I just randomly painted areas with it. No rhyme or reason here. Allow to dry.
Then the top coat again. This is my "Oops Blue" that I use er'where.
Allow this coat to dry.
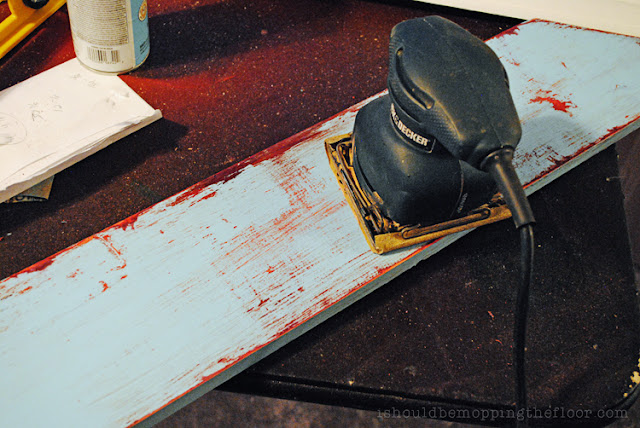
Then go at it with the sanding again. I can't tell you how much I recommend a palm sander. I use it constantly. Be prepared for the sheer amount of dust that sanded chalk paint will produce. Insanity.
Here are the boards from this method. I love the white poking through.
I'm using these...well, I had a plan. And it tanked. Total project fail.
Stay tuned for where they turn up.
This was another piece I did with a very loose version of method number one. I didn't do a top coat of blue. It is raw chalk paint on the final paint surface. Normally, you'd add wax to chalk paint if it's your top layer, but to keep the really aged look, I'm going to skip it for now.
This is where it started in the top pic. You know I popped some tags for this baby.
{what, what...what, what?}
I plan to use it to hold cookbooks on some open shelving we'll be installing in the breakfast area.
Let me know if you have any questions on either method.
Do you have a favorite method for achieving a worn look with multiple layers of paint?


