This Ring Toss Game post contains affiliate links. I make a small portion when these links are used, at no additional cost to you.
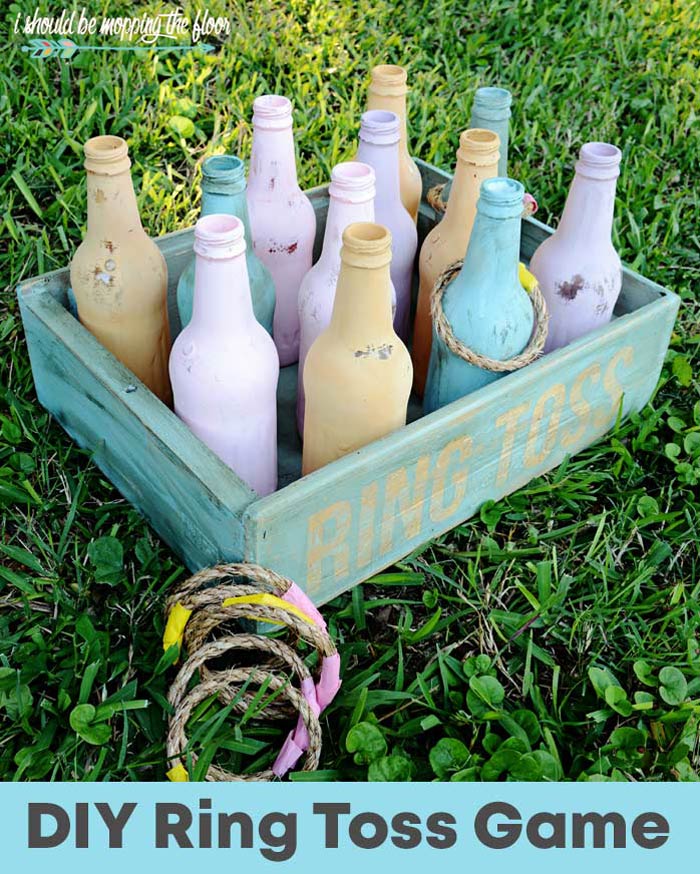
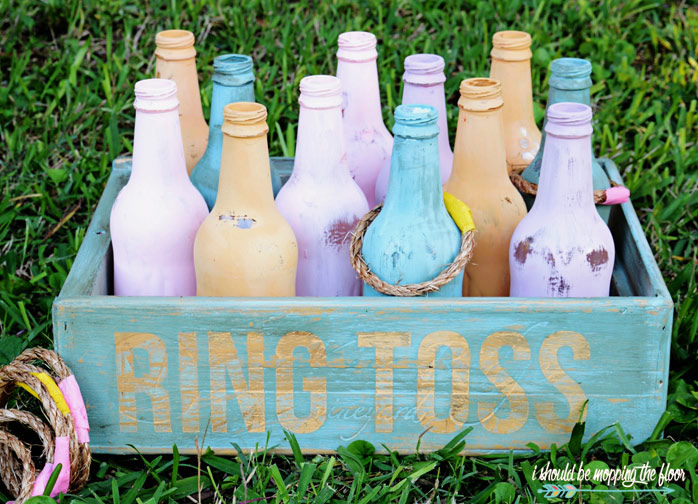
This fun and colorful DIY Ring Toss Game is easy to put together. It's practically guaranteed to create endless fun for summertime parties, backyard entertaining, picnics, tailgating, and just everyday boredom busters for the kids (who doesn't love ring toss, right?). See how we made our own ring toss set below.
DIY Vintage Ring Toss Game
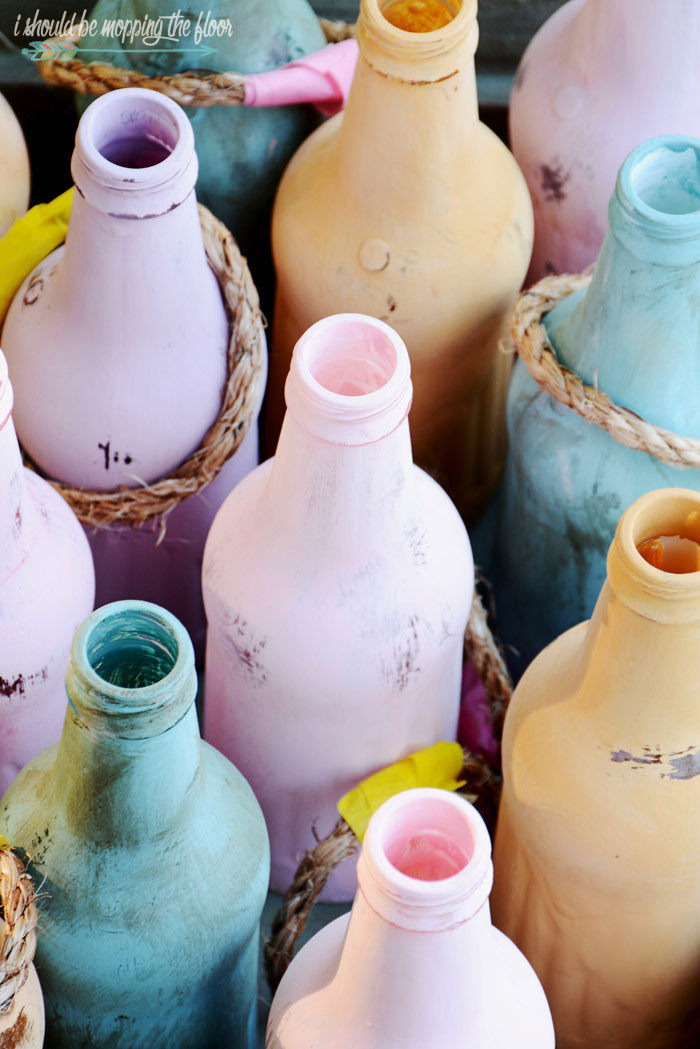
Don't these painted glass bottles (below) look all kinds of beach-y and pretty? Their colors are my absolute fave. This DIY ring toss project requires no special skills. My nine-year-old helped me from start to finish. And our efforts have already paid off: this has quickly turned into a family favorite.
Since moving to our new home, our backyard has become a great place for outdoor gatherings since it's a bit larger.
We have a really fun cornhole set set up in the main part of the yard. But, we also bring out this ring toss onto the patio area or side yard for an additional game station. Plus, it's a ton of fun.
Ring Toss Supplies
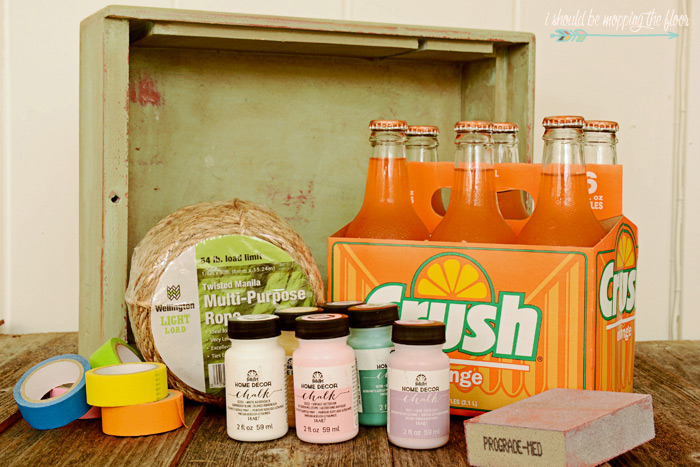
- shallow wood box (see how I made my own here)
- clear soda bottles (drink 'em and wash 'em, use as many as fit in your box)
- chalk paint in fun colors (chalk paint is essential in this project so it will properly adhere to your bottles)
- I used the Folk Art brand that you can purchase a set of here on Amazon.
- colored masking tape
- multi-purpose rope
- sand paper or a sanding sponge
- optional: dark wax for the paint finish (this gives your ring toss that vintage look)
Making a Ring Toss Set
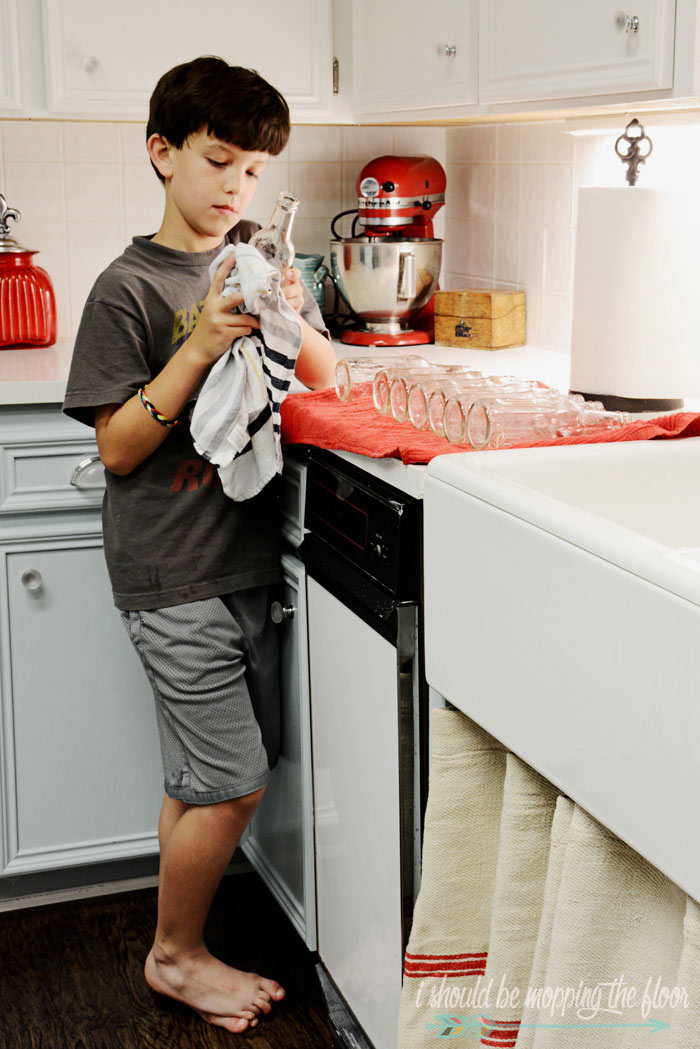
- First things first, wash and rinse your bottles very well.
- Then dry well.
- Remember, the number of bottles you need depends on the size of box you use.
- Use your chalk paint to paint the outsides of the bottles. The chalk paint will adhere to the glass surface better than other paints will. No sanding at this point...just paint. We did a variety of fun pastel colors on our bottles, just to make the game feel super summery.
- If you're going for the vintage-look like we did, there is no need for painting perfection here. Later when you sand, they'll look perfectly vintage and fun...even if the paint job is just okayish.
- The box I used is from a couple of years ago when I created my own vintage soda crates (see that complete tutorial here). The depth of this box was just perfect for a ring toss, so I used one for this game. You can make your own box like I did or look for a shallow one at a craft store.
- To bring in the color of the bottles, I painted one side the same yellow we used on some of the bottles. Then I added vinyl lettering.
- I use my Silhouette to cut my lettering, but you can order precut vinyl lettering here on Amazon.
- If you prefer, you can skip this extra layer of paint and stencil lettering on the box, instead (using that color of paint as a stencil color, instead).
- My son painted over the entire box with the blue chalk paint (including painting over the vinyl letters).
- We left the inside of the box as is, since ours was already painted. But, feel free to give yours the same treatment as you use on the outside of the box, if you prefer.
- Then we peeled off the letters to reveal the 'ring toss' words.
- I took my sanding sponge and lightly sanded over the entire piece, giving it that vintage feel.
- I sanded the bottles, too...so they wouldn't feel left out of our vintage vibe. This is why your painting doesn't have to be perfect. Sanding always covers a multitude of imperfections.
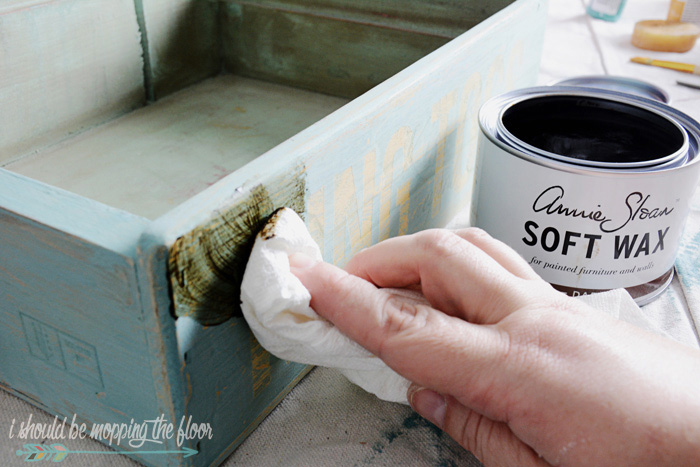
- I wipe my wax on with a lint-free cloth. If you use too much dark wax, you can use natural wax to actually pull it back off (sounds counterintuitive, but it really does work).
- Work the wax into the piece until you achieve you desired finish.
- At this point, you can seal the entire piece with a clear, matte varnish.
- I like this varnish from Liquitex that you can grab at Amazon here. You can use it on the bottles, too.
- It is a bit easier to use a spray varnish on the bottles, though. This one from Krylon (available here on Amazon) is one I use again and again.
Even though we are sealing this DIY Ring Toss set, be sure to store it out of the elements when not in use. We accidentally left ours out overnight once and it rained. The box filled with so much water that a few of our bottles were tossed out onto the patio and broke. It was kind of a mess to clean up.
Ring Toss Rings
I'm listing a couple of options for rings below. We love the homemade sisal ones, but younger children may do better with the store-bought kind that are easier for them to toss.
- To make the homemade rings, simply cut pieces of your rope.
- Make sure they're not too big for the bottles you use.
- Use the colored masking tape to secure the rope ends together. (You can also add a dab of hot glue for an extra measure of security).
- Again, you can grab the premade rings (that are easier to for younger kids to toss) here on Amazon.
- We use the colors of the masking tape on the rings to determine scores (one kid had all yellow rings, one had all pink, etc.).
- Whoever ringed the most bottles won!
- Then we just play round after round until everyone is worn out!
- If you prefer to purchase plastic rings, make sure to have two colors so you can easily keep score.
More Ring Toss Tutorials:
- This cute Ring Toss Game from Everyday Dishes has a fun Americana theme to it.
- If you need a set by the pool, this Pool Noodle Ring Toss from Trish Sutton is super creative.
- And this 2-Liter Ring Toss from Carnival Savers is an easy one...plus the ringed soda bottle ends up as the prize!
- This Indoor Ring Toss, from Moms Collab, uses pipe cleaners and paper towel rolls! It's perfect for rainy day fun.
What fun outdoor games do you like to play in the summer?







What a beautiful idea love the colors and it is fairly easy to make thanks for sharing and participating #client
ReplyDeleteI love this for a game but I also think it would look great on a porch!
ReplyDeleteWhat a great idea. My grandkids would love this. Would look great a decor.
ReplyDeleteBev
I have been wanting to make one of these sets for at least 15 years. This turned out better than I ever dreamed. I love it!!!!!!!!!!!
ReplyDeleteso so so so cute!! I like the idea of getting the kids involved
ReplyDeleteWhat a great idea! Thank you for sharing it at our DIY Sunday Showcase party! It was one of my Top 6 favs and will be pinned in our DIY Sunday Showcase Talent Board.
ReplyDeleteThis is such a neat idea! You're going to be featured at the Creativity Unleashed link party this week!
ReplyDeleteThis is adorable! My kids are older now, but this would be a perfect decoration for my beach-themed guest room.
ReplyDeleteCongrats on your feature in the #ThisIsHowWeRoll link party at Organized 31! I'm pinning this great idea now!